-1.png?width=100&height=75&name=Edly%20by%20Arbisoft%20(Red%20and%20Gray)-1.png)
Overview
Open edX is a popular open-source platform for creating and delivering online courses. It offers a wide range of customization options to enhance the appearance and branding of your courses. One such customization is setting the course card image, which is the visual representation of your course that appears on the course catalog or dashboard.
This image plays a crucial role in attracting learners and providing a glimpse of what your course offers. In this overview, we will explore the process of setting the course card image for your course in Open edX Studio.
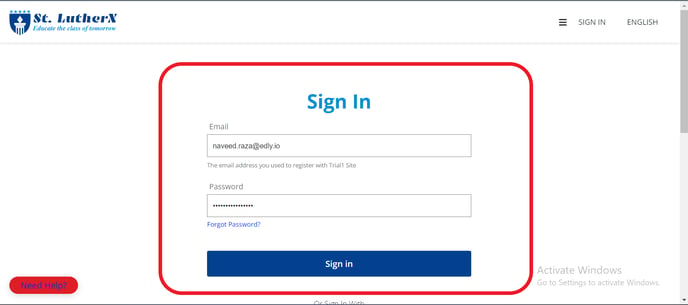
Tip: Make sure you have logged in to the Open edX Studio before proceeding with the article.
Key Points:
-
Course Card Image Importance:
- The course card image is the first thing potential learners see when browsing through the course catalog or dashboard.
- It helps create a visual identity for your course, making it stand out among others.
- A compelling image can generate interest and entice learners to click on your course to learn more.
-
Image Requirements:
- Open edX has specific requirements for course card images. Typically, it should be in JPEG or PNG format.
- Recommended dimensions are usually 480 pixels wide and 270 pixels tall, though these dimensions may vary based on your platform's configuration.
-
Steps to Set the Course Card Image:
-
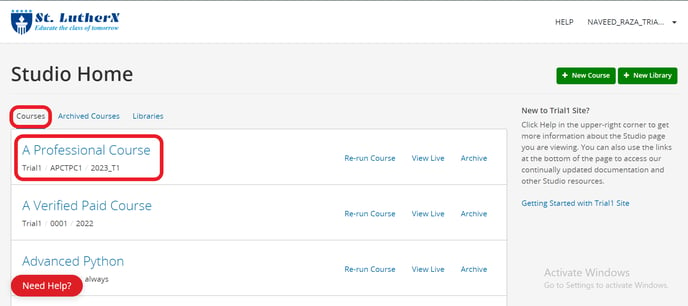
Access Open edX Studio: Log in to your Open edX Studio account, where you manage your courses.
-
Navigate to the Course: Select the course for which you want to set the course card image.
-
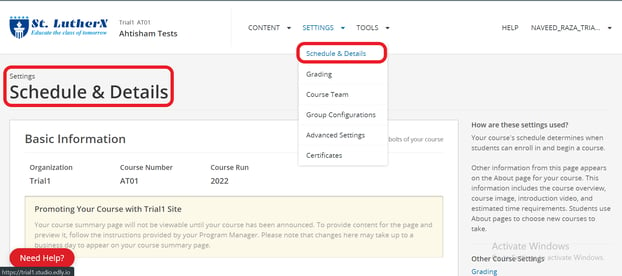
Click "Settings": In the course management area, locate and click on the "Settings" tab or a similar option, depending on your Open edX version.
-
Upload the Image: Look for the option to upload the course card image. This is typically labeled as "Course Image," "Card Image," or something similar.
-
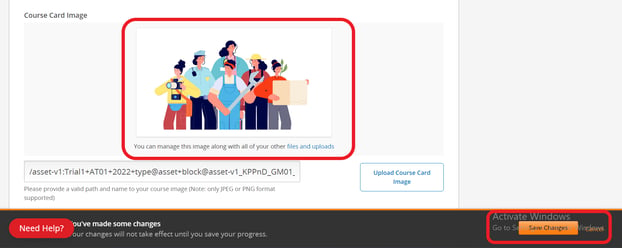
Scroll down and set the Course Card Image by pasting the web link of the image in the textbox as highlighted in the Course Card Image section.
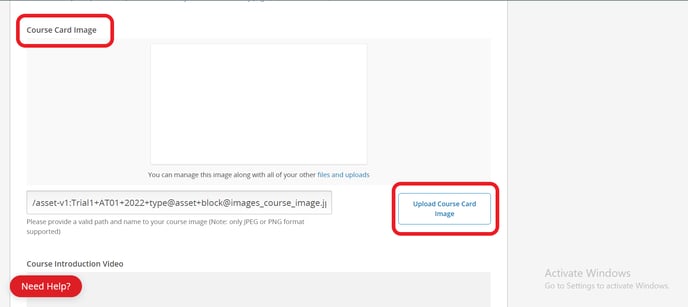
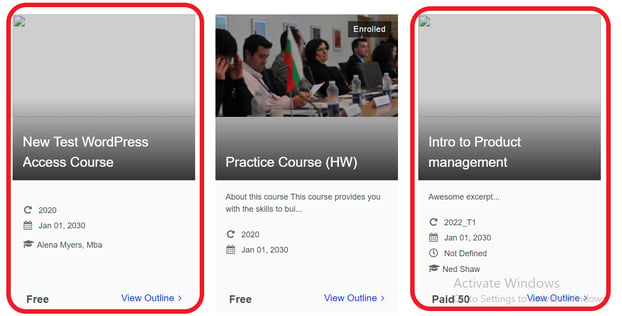
- A broken image appears in the LMS dashboard when a Course Card Image has not been set in Studio by the Studio Admin User. Course card image also helps the learners to easily distinguish between the courses.
-
Image Selection: Click on the upload button, browse your computer for the image file, and select it. Ensure that the image meets the platform's requirements.
-
Save Changes: After selecting the image, save your changes. The platform will usually prompt you to confirm the selection.
-
Note: The web link of the image can be obtained from the Files & Uploads section in the Content dropdown menu if you have already uploaded the image in the Files & Uploads area. Click on the Upload Course Card Image button if you have not already uploaded the image in Files & Uploads.