-1.png?width=100&height=75&name=Edly%20by%20Arbisoft%20(Red%20and%20Gray)-1.png)
Overview
EdX, a popular online learning platform, offers a range of features to enhance the learning experience. One such feature is Badgr, a badge-issuing system that allows instructors to recognize and reward learners for their achievements. In this guide, we'll walk through the steps to enable Badgr and add a badge for your edX course.
Login and enter account credentials
- Sign up or log in at https://badgr.com/
- Go to the issuer tab select badge and copy the issuer slug from the URL.
https://badgr.com/issuers/issuer-slug/badges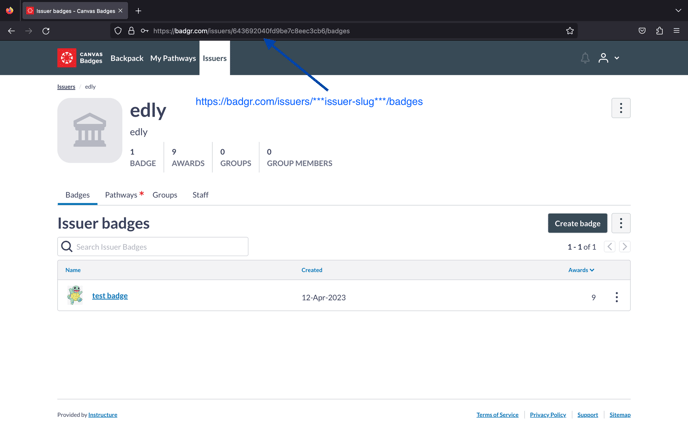
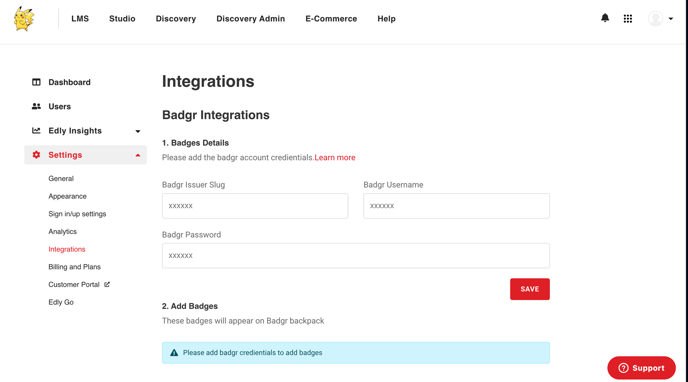
- Go to the panel frontend → settings → Integrations
- In the Badger Issuer Slug field enter the copied issuer slug
-
Enter your https://badgr.com/ account email and password in the "Badgr Username and password" fields and click save.
Add a badge for the course
Once the credentials are added, the Add Badgr fields will become visible.
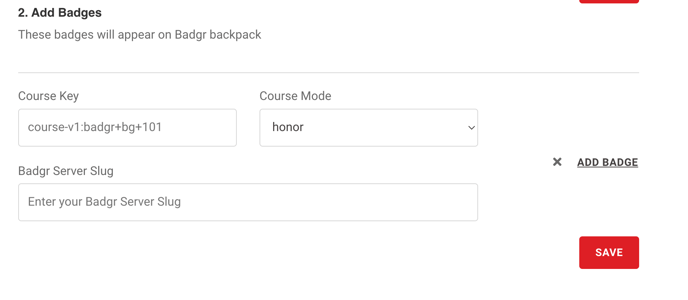
-
Enter your course key and the mode of your course.
-
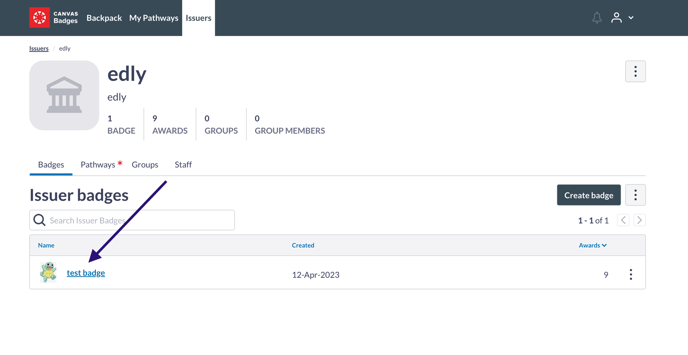
For Badgr Server Slug go to the issuer page of https://badgr.com/
- Click on the badge you want to use
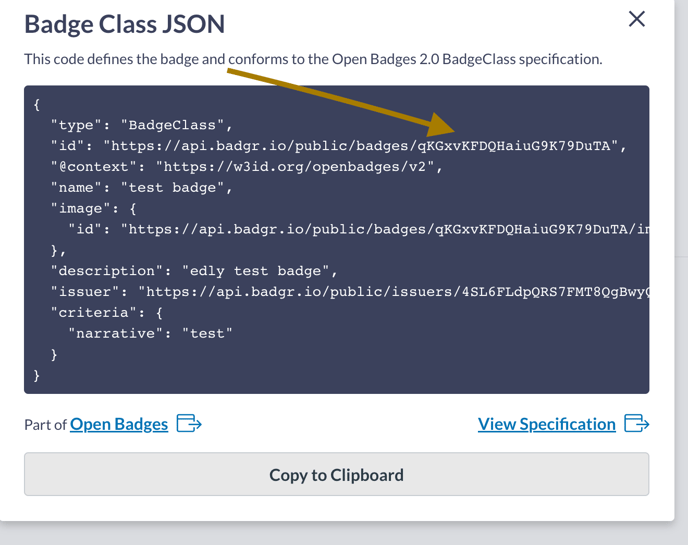
View JSON
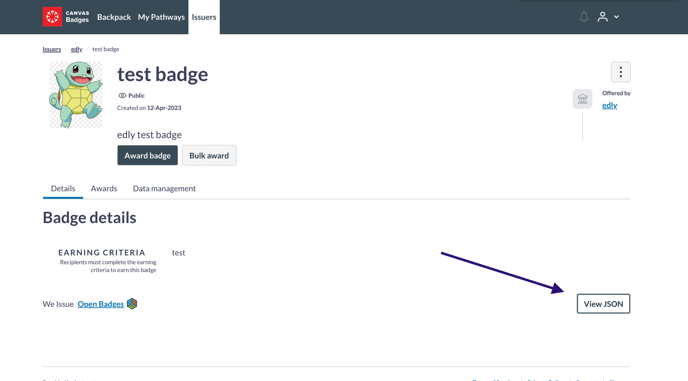
-
Copy Badgr Server Slug "id": "https://api.badgr.io/public/badges/Badgr-Server-Slug", and enter in the Badgr Server Slug field and save.
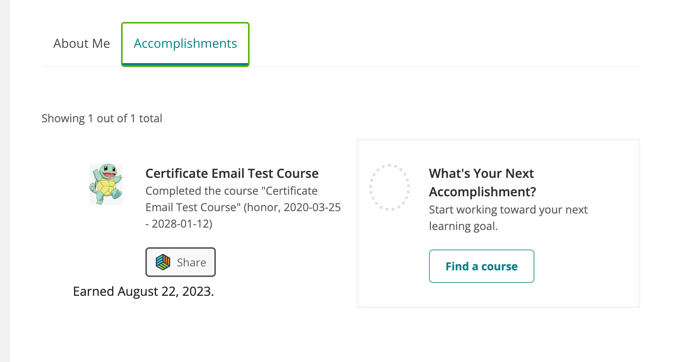
- The badger feature will now be activated for that specific course.