-1.png?width=100&height=75&name=Edly%20by%20Arbisoft%20(Red%20and%20Gray)-1.png)
Overview
Courses are the main content your Learners will interact with. They are compromised of a schedule, course content, and access for your Learners.
To create and run a course, you can either create an entirely new course in Studio, or you can re-run an existing course.
You can also export and import courses as XML files. You can do this when you need to back up a course or edit the course in XML.
Note: make sure you have logged in to Studio before proceeding with the article.
Creating a Course
To create a course, follow these steps:
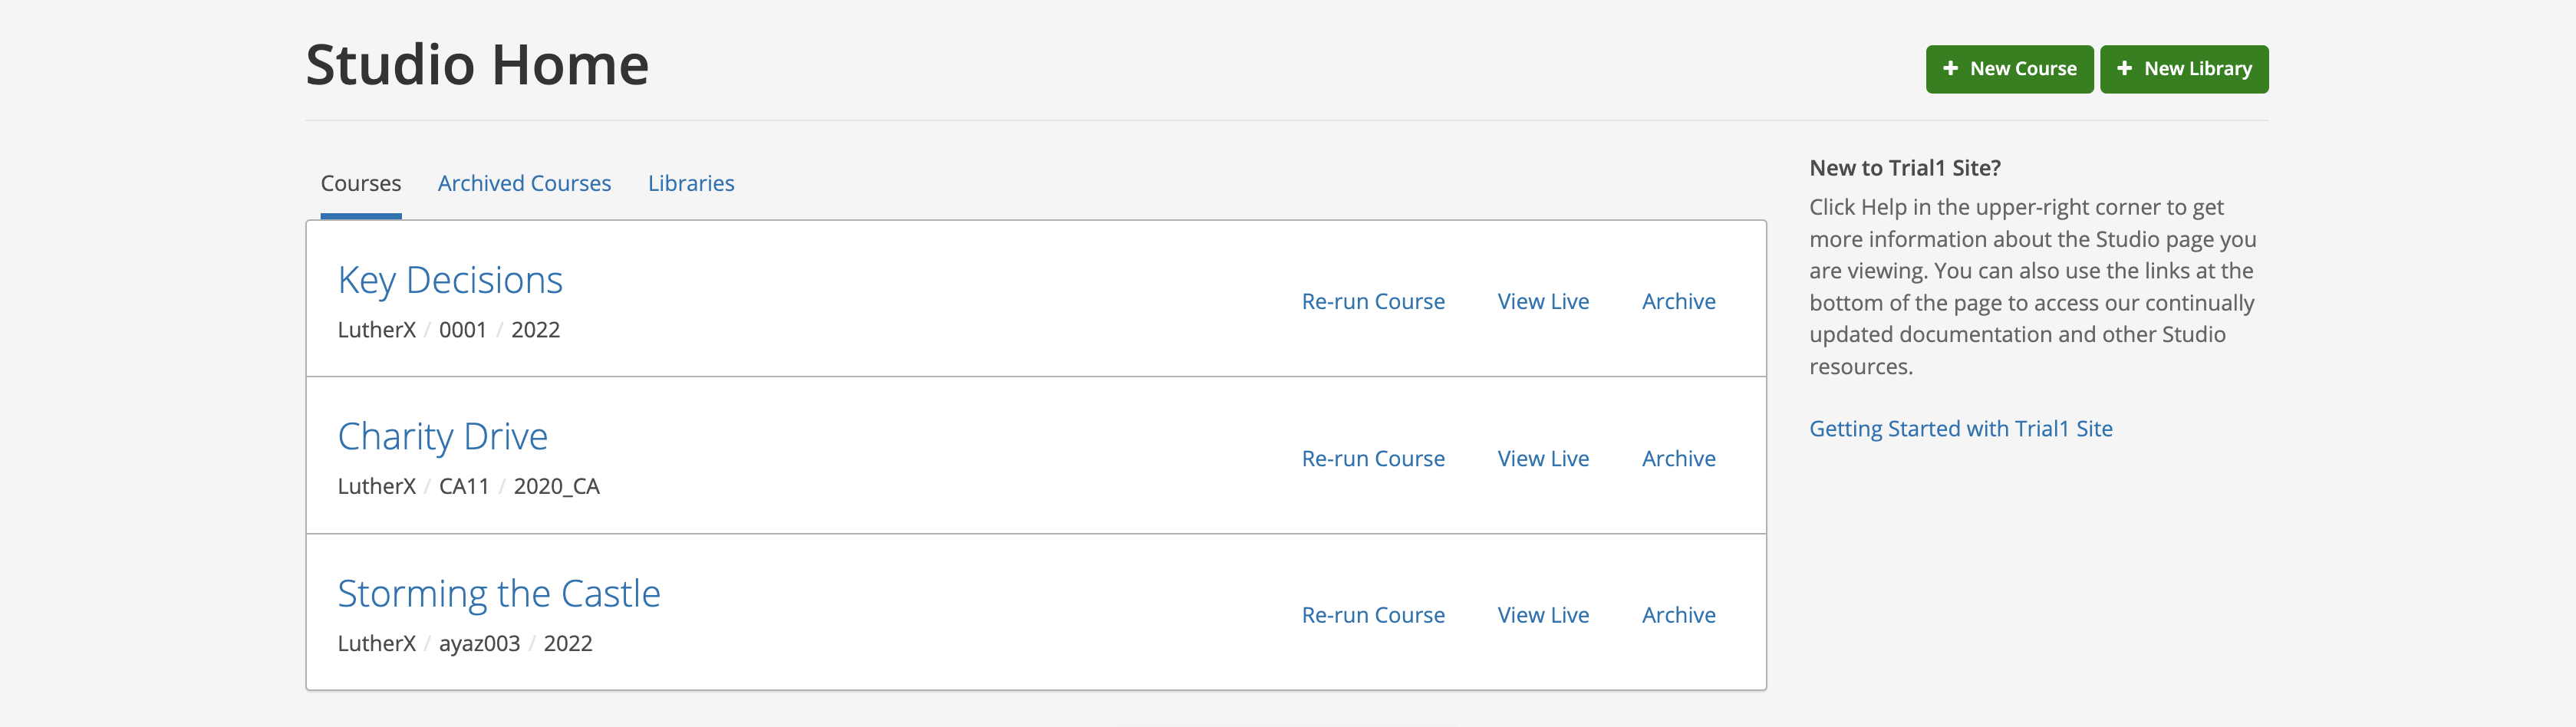
- Sign in to the Open edX Studio
- Click New Course
Enter the following information about your Course:
- Course Name: the title of your Course. For example, the name might be “Sets, Maps, and Symmetry Groups”. This will be shown on the Learner Dashboard, Course Certificates, and throughout the Course itself. Use title capitalization for the Course Title with normal spacing and punctuation. If needed, this can be changed at any time through the Advanced Settings in your Course.
- Organization: the identifier for your organization. Do not include spaces or special characters; there is typically only one organization on your LMS but if there are additional Organizations, ensure that you select the right one for your course.
- Course Number: a unique, typically short identifier for your Course. We recommend entering both a subject abbreviation and a number and having a consistent Course Numbering scheme throughout your system. For example, for public health course number 207, you could enter "PH207". For an Introduction to Computer Science, you could enter "CS101". You should not include spaces or special characters in the Course Number. If needed, this can be changed at any time through the Advanced Settings in your Course.
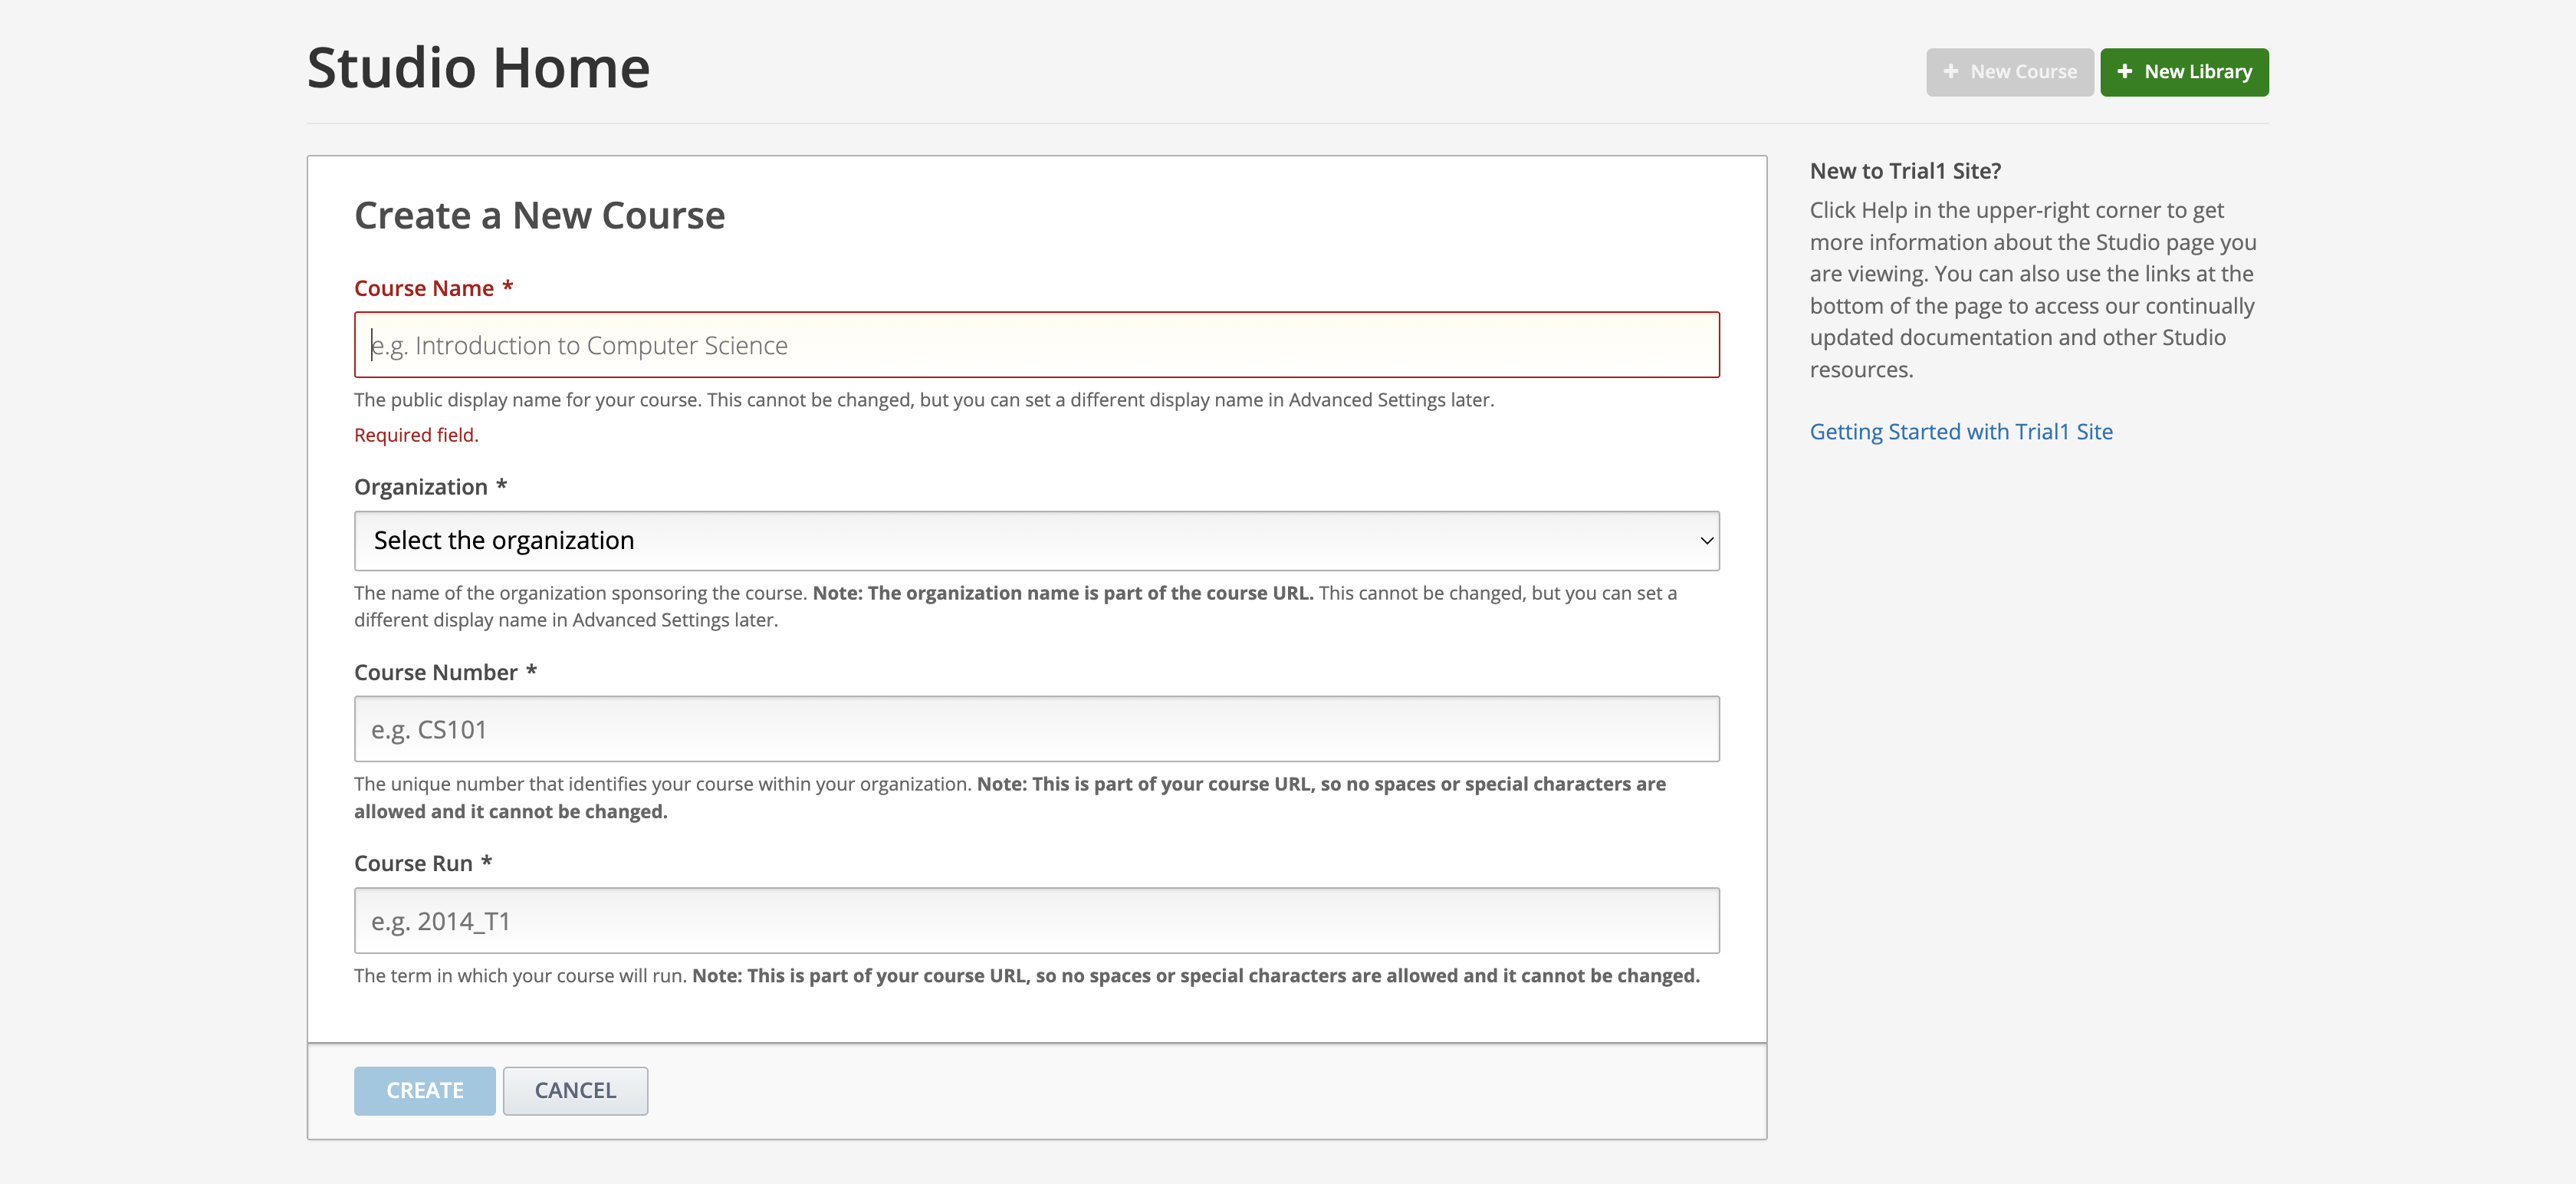
- Course Run: this can be when your Course takes place. You can include the year and term as needed, for example "2014_T1". The Course Run is helpful if you are planning to offer the same course at different times in the year, for example "2023_Spring" and "2023_Fall". If you are not planning to offer the same course at different times in the year, you may want to include the year the course was launched and the version number, for example "2023_v1". You should not include spaces or special characters in the Course Run. This field cannot be changed after your Course has been created.
- To finish creating your new Course, click Create. You will see your Course Outline. From here, you can start developing course content.
Caution: The Organization, Course Number, and Course Run values that you enter are used to create the URL for your course. Because URLs do not have an unlimited length, the total number of characters that you enter for these values must be 65 or fewer. Here is an example: course-v1:klmX+DemoX.1+2T2021.
Editing a Course
After you create a course, the course opens in Studio automatically and you can begin editing. Your next steps might include adding other Course Team Members, setting the Course Start and End Dates, and developing the Course Outline.
When you return to Studio later, your My Courses dashboard page lists the courses that you created as well as any courses for which you have course team privilege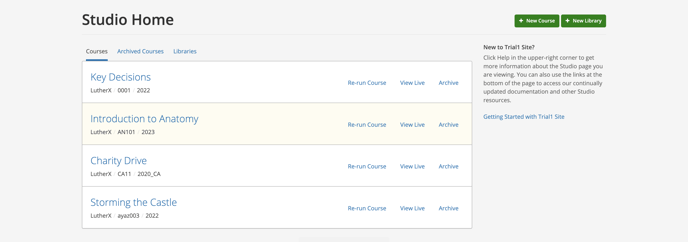
If you want to edit an existing course, visit to Studio. To edit the course, simply click on the Course Name. The Studio Course Outline page appears.
Changing the Course Title or Number
The course title and number that you specify when you create your course become part of the course URL. The course URL cannot be changed. However, you can change the way that your course title and number appear in Studio and the LMS.
Changing the Course Title
To change the way that your course title appears in Studio and the LMS, follow these steps.
- Open the course in Studio
- On the Settings menu, select Advanced Settings
- In the Course Display Name field, enter the title that you want
- Click Save.
In Studio and the LMS, your course title changes to the value that you specify in the Course Display Name field. The URL for your course does not change.
Changing the Course Number
To change the way that your course number appears in Studio and the LMS, follow these steps.
- Open the course in Studio
- On the Settings menu, select Advanced Settings
- In the Course Number Display String field, enter the number that you want
- Click Save
In Studio and the LMS, your course number changes to the value that you specify in the Course Number Display String field. The URL for your course does not change.
Note: we do not recommend that you do this if your Course is live to Learners.