How to Change the Language of WordPress?
Overview
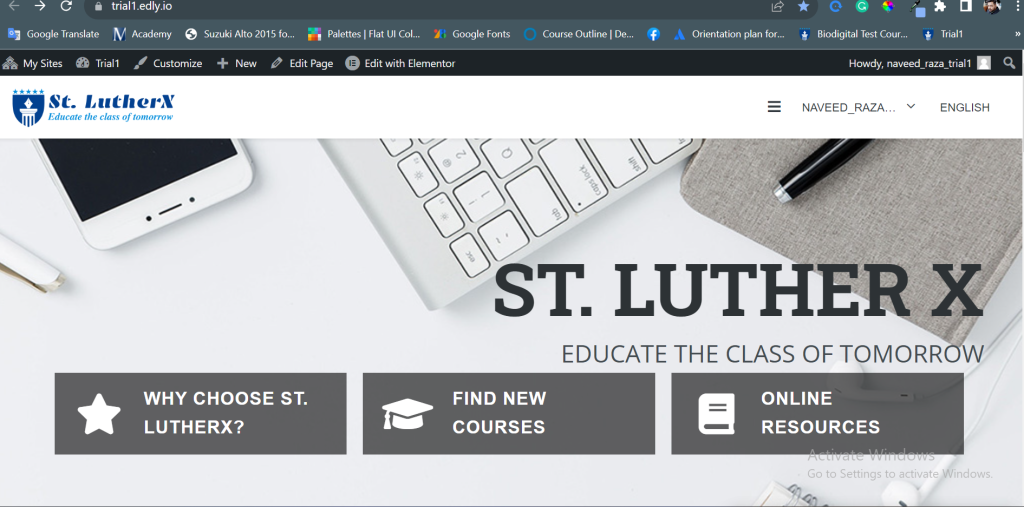
WordPress is a versatile and user-friendly content management system that powers millions of websites worldwide. One of its great features is the ability to change the language, allowing you to create a website in your preferred language. In this guide, we'll walk you through the simple steps to change the language of your WordPress website.
Tip: Make sure you have logged in to your Edly Discovery Site before proceeding with the article.
Accessing the Dashboard
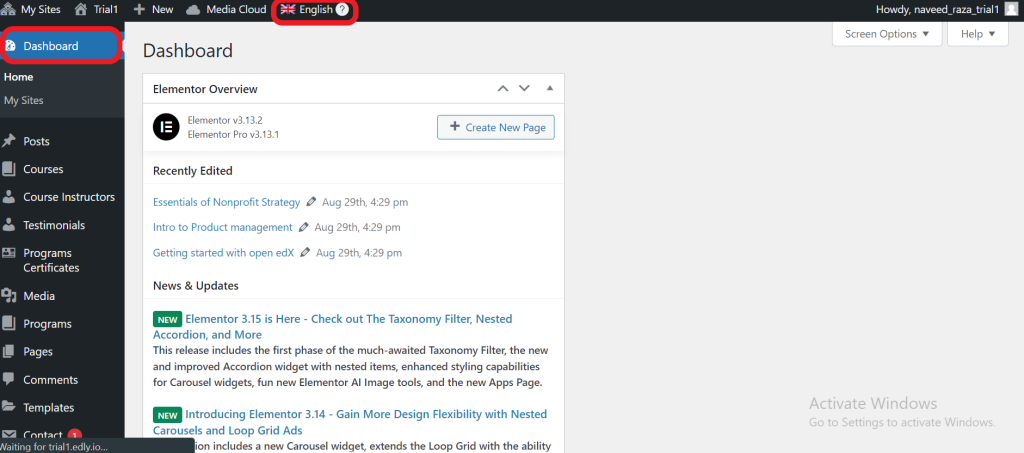
- Log in to your WordPress dashboard using your administrator credentials. This is usually done by adding "/wp-admin" to the end of your website's URL (e.g., www.yourwebsite.com/wp-admin).

Navigating to the Language
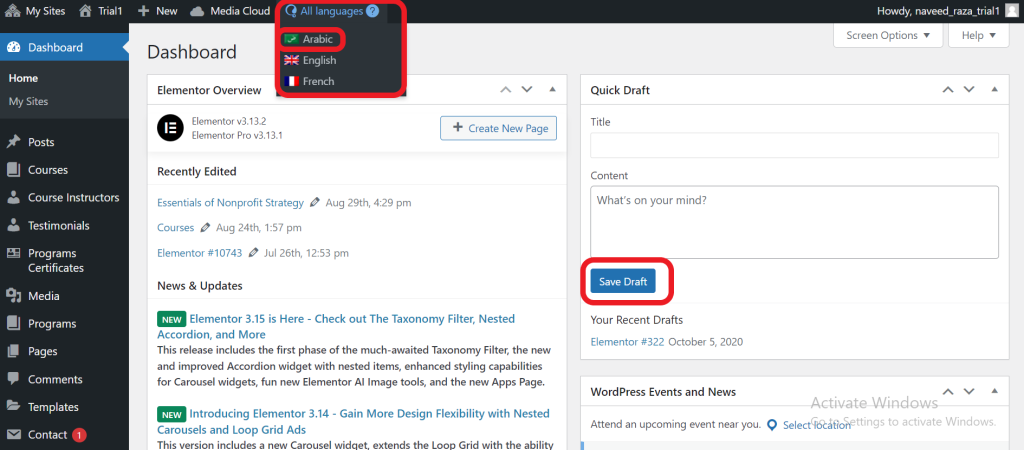
- Once logged in, you'll be directed to the WordPress dashboard. In the right-hand menu, hover over "language"

Choosing a New Language & Applying the Changes
- Click on the drop-down menu under "Language."
- A list of available languages will appear. Scroll through the list and select your desired language.
- Once you've selected the new language, scroll to the bottom of the page and click the "Save Changes" button. WordPress will now update your website's language settings.

Verifying the Change
- Open your website in a new browser tab to see the language change in effect. All the default WordPress elements, such as buttons, menus, and even some themes and plugins, should now appear in the language you've selected.

-1.png?width=100&height=75&name=Edly%20by%20Arbisoft%20(Red%20and%20Gray)-1.png)