-1.png?width=100&height=75&name=Edly%20by%20Arbisoft%20(Red%20and%20Gray)-1.png)
Overview
Adding social media links to your WordPress website is a great way to connect with your audience and increase your online presence. In this guide, we'll walk you through the simple steps to seamlessly integrate your social media profiles with your WordPress site.
Login to Discovery Site
- Open your web browser and navigate to your WordPress website's admin area. This is usually located at "yoursite.com/wp-admin."
- Enter your username and password to log in.
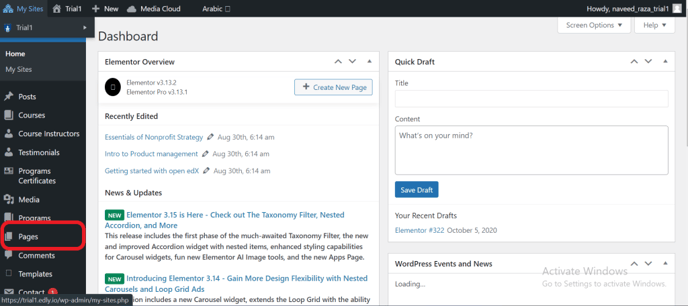
Access Your WordPress Course Website
-
Once logged in, you'll land on the WordPress dashboard.
-
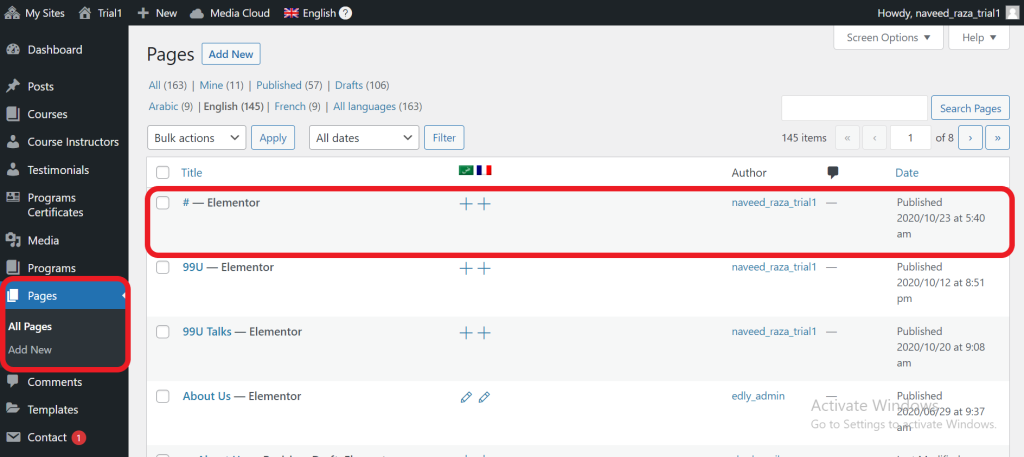
Navigate to the "Pages" section and select the page where you want to add your social media links. This could be your homepage or a designated "Contact" or "About" page.
Insert Social Media Links
-
Type out the text where you want to insert your social media links (e.g., "Connect with us on social media:").
-
Highlight the text where you want to insert a link.
- Look for the "Insert/edit link" button in the editor's toolbar (usually represented by a chain link icon). Click it.
Add Social Media URLs and preview and update
- In the "URL" field of the link pop-up, paste the URL of your chosen social media profile.
- You can optionally add a title (e.g., "Follow us on Facebook") to provide additional context when users hover over the link.
- Click "Preview" to see how the social media links will appear to your visitors.
- click "Update" to save your changes and make the links live on your page.