-1.png?width=100&height=75&name=Edly%20by%20Arbisoft%20(Red%20and%20Gray)-1.png)
Tip: Make sure you have logged in to the Open edX Studio before proceeding with the article.
Step 01:
- Create a Course in the studio
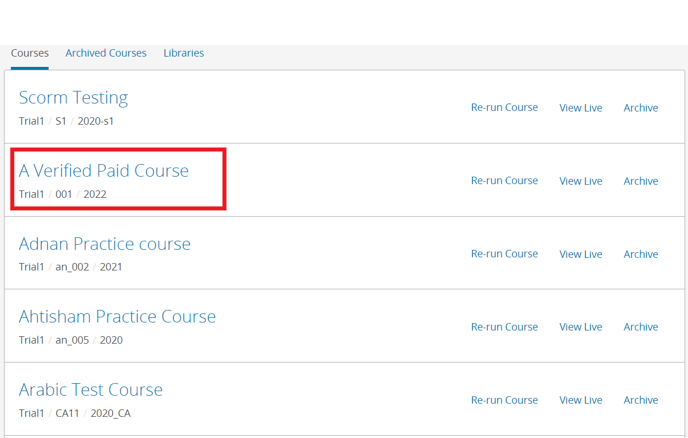
Step 02:
- Open a course and copy this URL

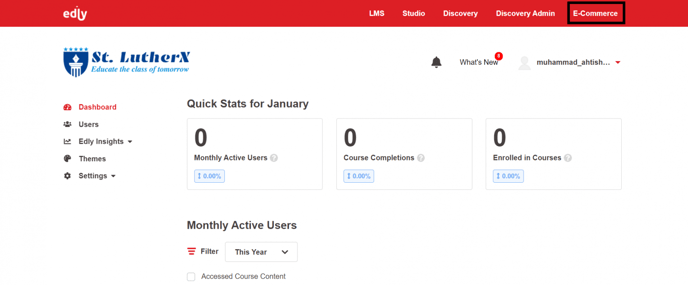
Step 03:
- Go to the Edly panel and open the E-commerce Site
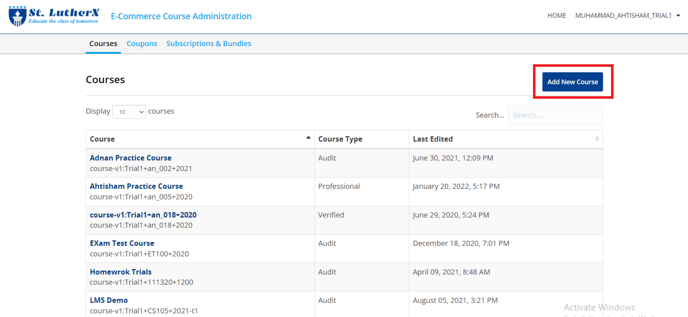
Step 04:
- Add a new Course in E-commerce Site
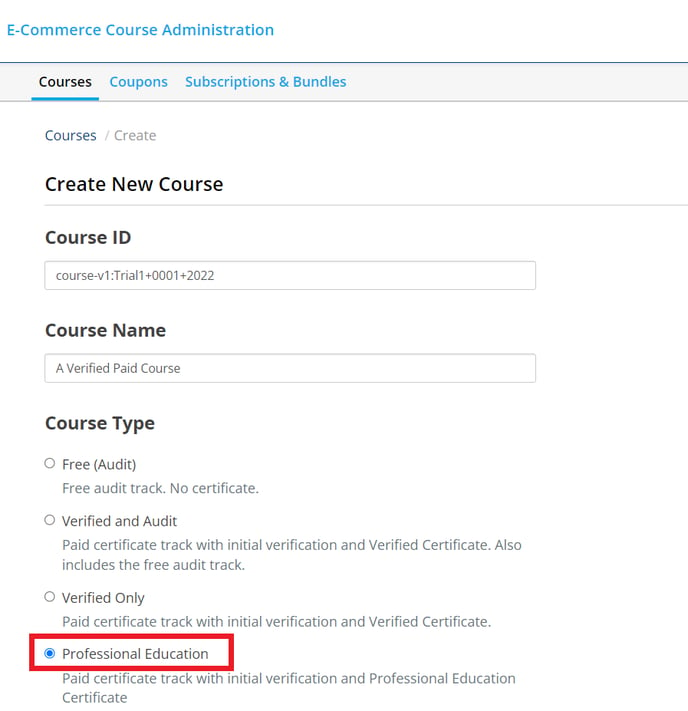
Step 05:
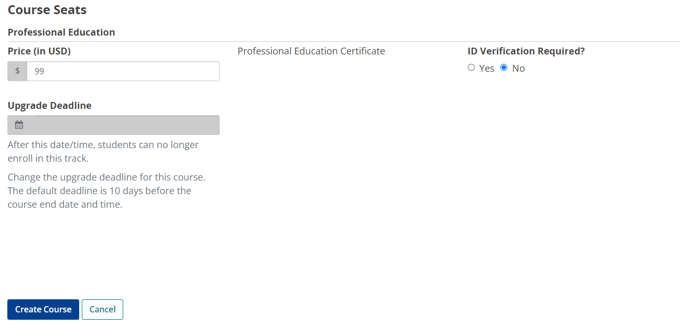
- Paste the Copied URL from a studio in the Course ID. Put Course Name and choose Professional Education Course Type. Also, put the course Price and select "Yes" If ID Verification is required then Create the Course.
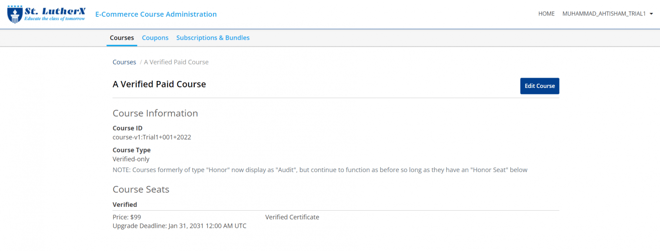
- You can edit the course information once it is created
Step 06:
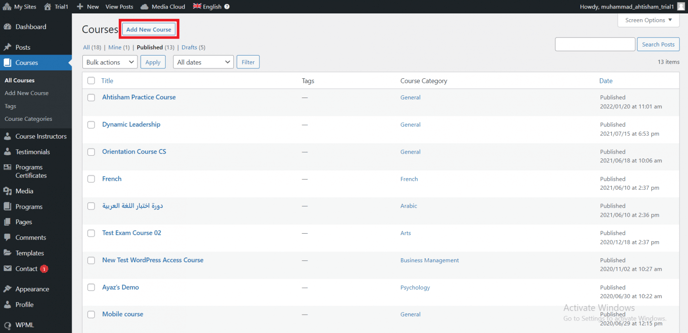
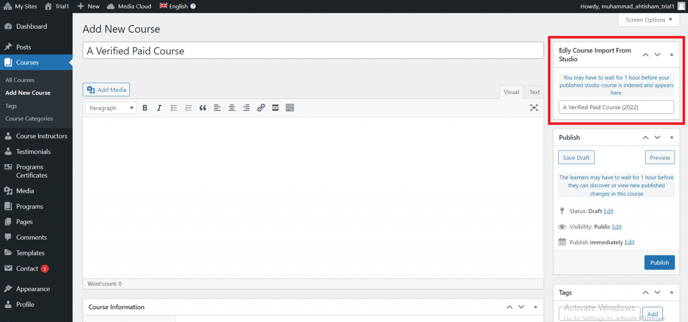
- Go to the WordPress admin Panel, open courses, and click on Add New Course
Step 07:
- Import the course from the Edly Import Course from Studio by entering the course name and publishing it.
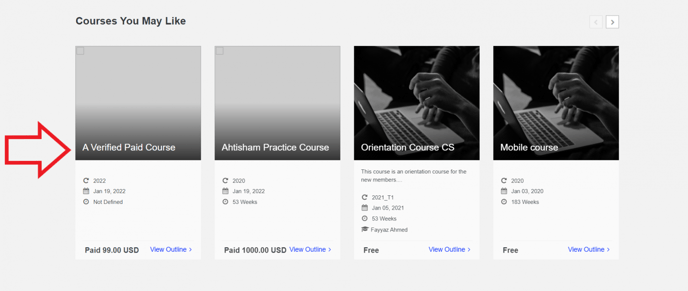
- Now the course is available on the discovery site on the Courses Page
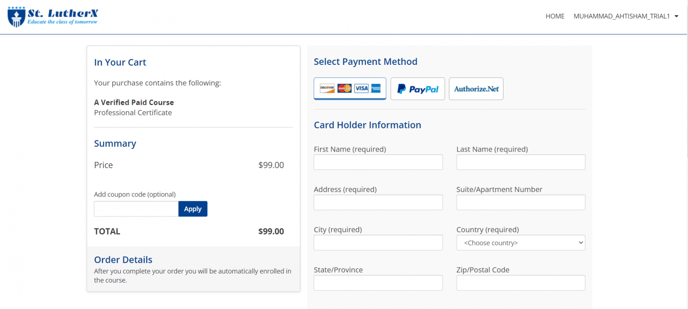
- Open the course and click on the Purchase Course button. The course could be purchased with a subscription by clicking Purchase Course With
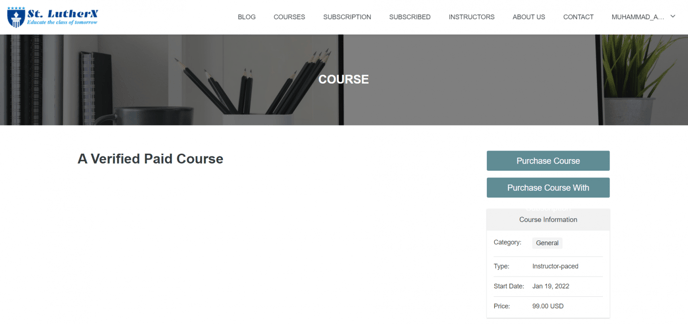
- The course is now available on-site only in the Paid Version. Users have to purchase it first, then course content & and certificate will be visible to them.