-1.png?width=100&height=75&name=Edly%20by%20Arbisoft%20(Red%20and%20Gray)-1.png)
Overview
The XBlock specification is a component architecture designed to make it easier to create new online educational experiences. XBlock was developed by edX, which has a focus in education, but the technology can be used in web applications that need to use multiple independent components and display those components on a single web page.
In educational applications, XBlocks can be used to represent individual problems, web-formatted text and videos, interactive simulations and labs, or collaborative learning experiences. Furthermore, XBlocks are composable, allowing an XBlock developer to control the display of other XBlocks to compose lessons, sections, and entire courses.
How to enable an XBlock in Open edX Studio?
- Go to a course where you want to enable Xblock
- Go to Settings > Advanced Settings
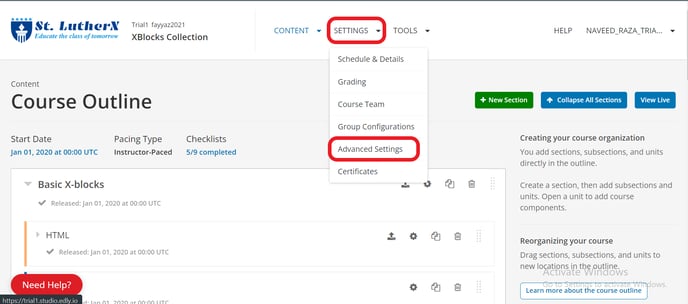
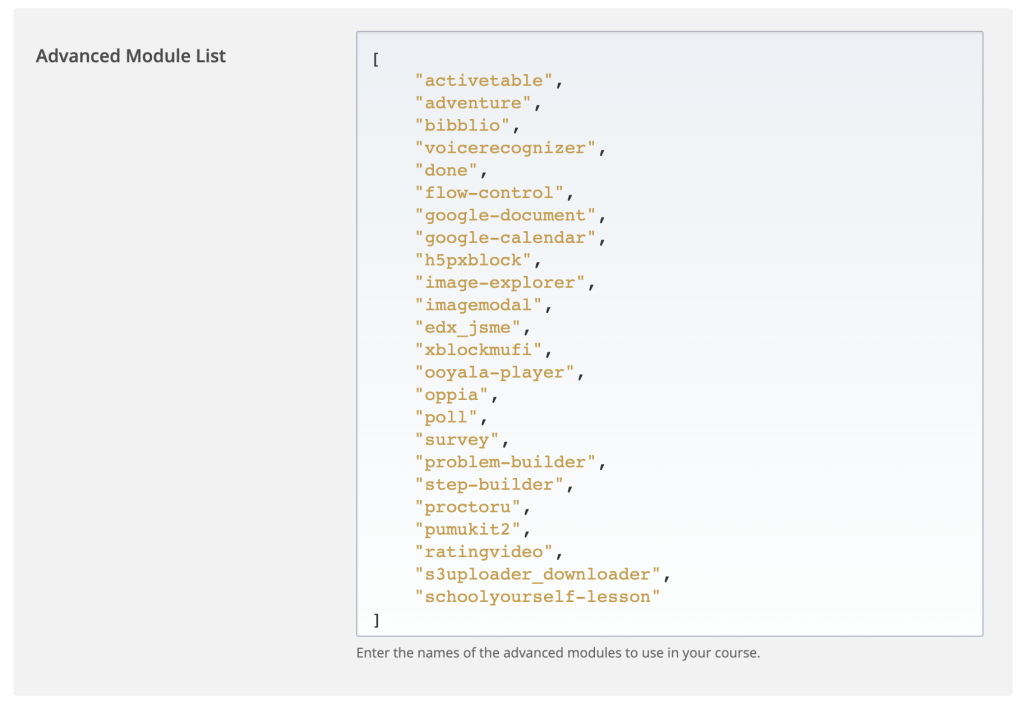
- You will find the Advanced Module List in Advanced Settings in which the Xblock string is added to enable it in a course.
- Every XBlock has a unique string in quotation mark("")
- We are adding an XBlock name Done XBlock whose string is "done"
- After adding the string, make sure to Save Changes.
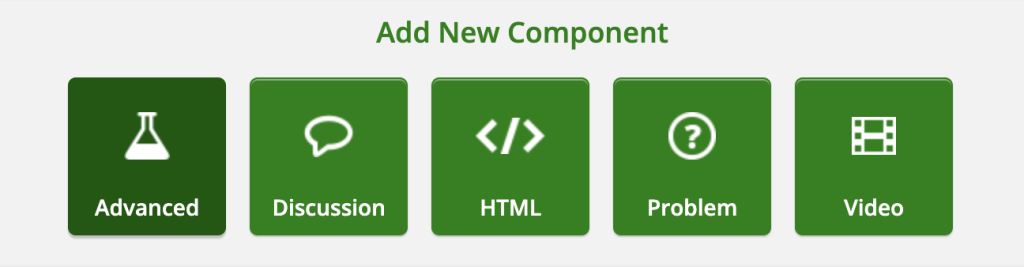
- Now go to the unit where you want it to be used
- Click on Advanced Component
- All enabled XBlocks are placed in this Component.
- Click on "Completion"
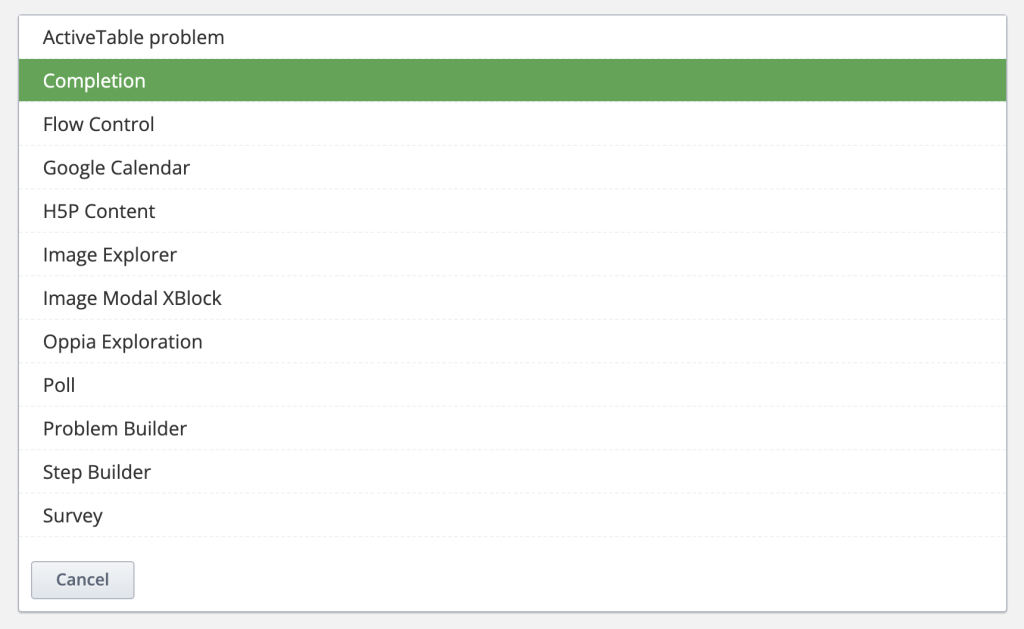
- Here you go! Done XBlock added.
- Every XBlock has a different UI but some similar functionalities
- EDIT (to change the XBlock title)
- Setting (for giving access to this XBlock to Content Groups)
- Duplicate (Duplicate this Xblock as it is)
- Move (Move this XBlock into any other unit)
- Delete (Delete this Xblock)
- Drag (Drag up and down)
- When you're done with changes, make sure to publish them.

See what it looks like on LMS.

Here is the list of Actively Maintained XBlocks by Open edX Community.