-1.png?width=100&height=75&name=Edly%20by%20Arbisoft%20(Red%20and%20Gray)-1.png)
Tip: Make sure you have logged in to the Open edX Studio before proceeding with the article.
The course team can upload files, such as images in the course for the students to access.
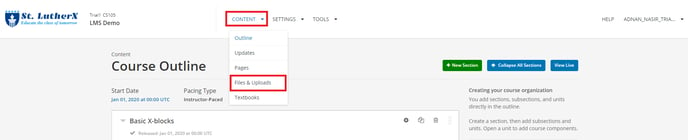
The course team can upload files on the Files & Uploads page in Studio. Follow the following steps to upload files:
- In your Open edX Studio, Select the Files & Uploads page from the Content drop-down menu
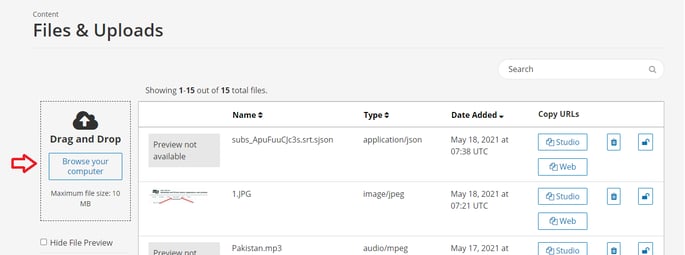
- Drag files into the Drag and Drop area on the Files & Uploads page.
Use an Uploaded File In the Course
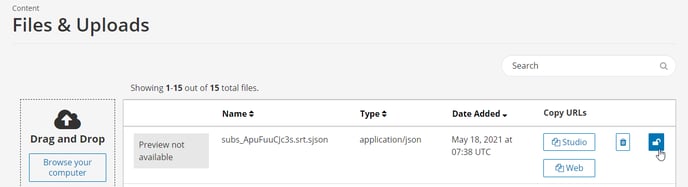
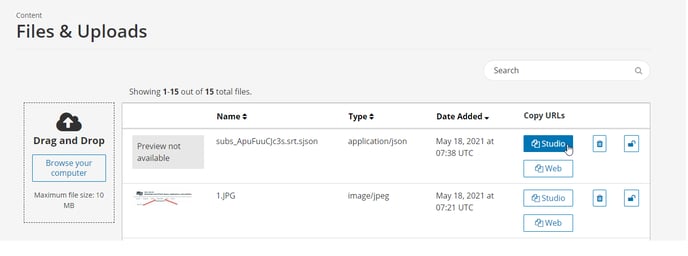
- Studio assigns a Studio URL and a web URL to the uploaded file and these URLs are listed under the Copy URLs column.
Use a File Inside the Course
To add a file or image inside the course, follow these steps.
- Select the Studio option in the Copy URLs column.
- Paste the Studio URL in the component or other content inside the course.
Use a File Outside the Course
To add a file or image outside the course, follow these steps.
- Select the Web option in the Copy URLs column.
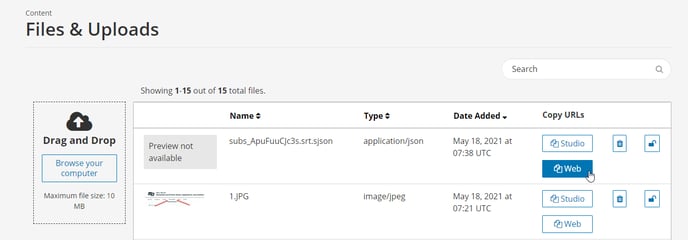
- Paste the web URL in the external content e.g. in a bulk email message.
Note: Be sure that you do not use the Studio URL in an email message.
Lock a File
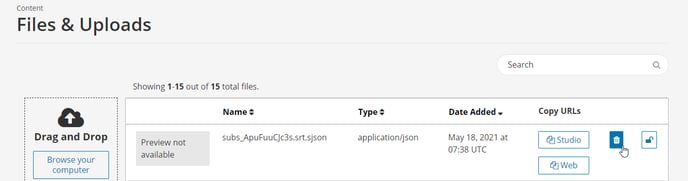
- To restrict access to a file from outside your course, you can lock the file so that only learners who are signed in and enrolled in your course can access the file.
- To lock a file, select the lock icon in the row for the file.
Delete a File
- To delete a file, select the delete icon in the row for the file, and then select Permanently delete in the confirmation dialog box.